
A torn or damaged window screen can allow insects into your home, reduce airflow, and make your windows look worn out. The good news is that replacing a window screen is a simple DIY project that most homeowners can complete in 10–15 minutes using basic tools.
In this step-by-step guide, you’ll learn how to replace a window screen, what tools you need, common mistakes to avoid, and tips to ensure your screen fits securely and lasts for years.
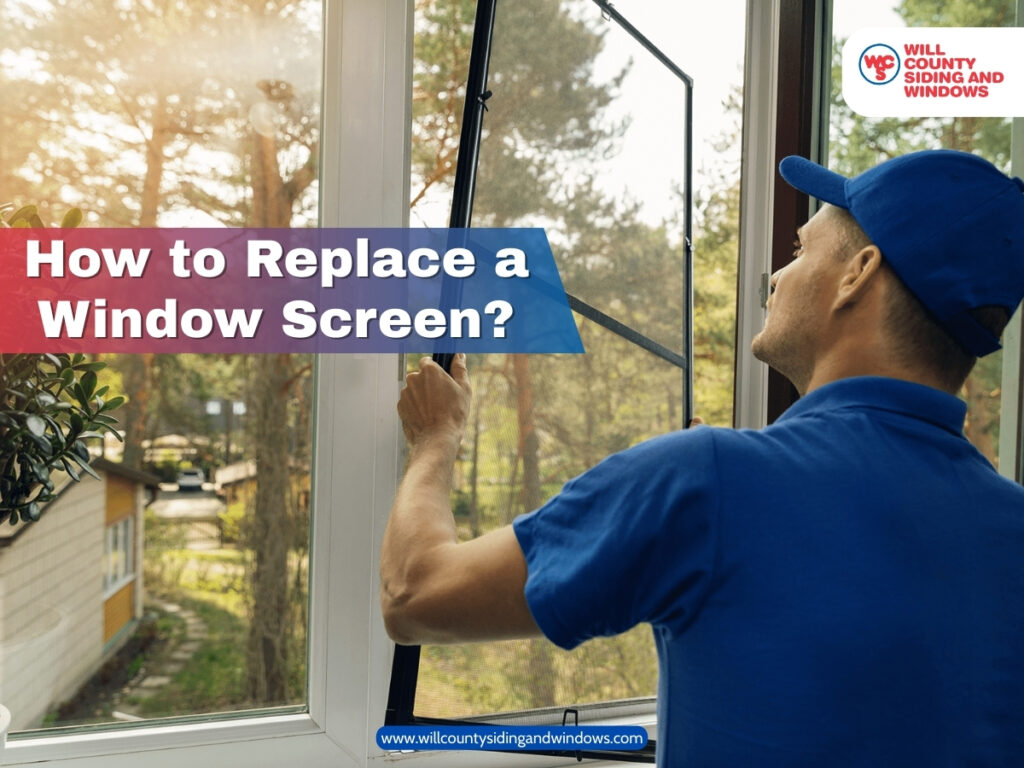
How to Replace a Window Screen (Quick Steps)
If you need a quick overview, here are the basic steps:
- Remove the screen frame from the window.
- Remove the old spline and damaged screen mesh.
- Place new screen mesh over the frame.
- Use a spline roller to press the new spline into the frame groove.
- Trim the excess mesh with a utility knife.
- Reinstall the screen back into the window frame.
These steps make window screen replacement a fast and affordable home maintenance task.
Why You Should Replace a Damaged Window Screen?
Window screens play an important role in maintaining comfort and airflow inside your home. They allow fresh air to circulate while keeping insects, debris, and leaves outside.
- A damaged screen can:
- Allow bugs and insects to enter your home
- Reduce airflow and natural ventilation
- Affect the appearance of your windows
- Let dust and debris inside
- Lower your home’s overall energy efficiency
Properly maintained window screens also support better airflow and complement modern window replacement upgrades commonly found in Illinois homes.
Tools and Materials You’ll Need
Before you begin, gather the following tools and supplies:
Required Tools
- Replacement window screen mesh (fiberglass or aluminum)
- Spline (rubber cord that secures the mesh)
- Spline roller tool
- Flathead screwdriver or utility knife
- Scissors
- Measuring tape
Optional Materials
- Replacement screen frame kit
- Utility knife for trimming excess mesh
- Work gloves for safety
Having all materials ready before starting will make the installation process faster and smoother.
Step-by-Step Instructions to Replace a Window Screen
Step 1: Remove the Old Screen
- Take the screen frame out of the window.
- Place it on a flat surface.
- Use a flathead screwdriver or utility knife to pry out the old spline.
- Carefully remove the torn mesh.
Step 2: Measure and Cut New Screen Mesh
- Unroll the new screen mesh over the frame.
- Leave about 1–2 inches of excess around all sides.
- Cut the mesh to size using scissors.
Step 3: Install the New Screen
- Lay the screen mesh over the frame.
- Use the spline roller to press the spline and mesh into the groove on one side.
- Continue around the frame, keeping the mesh taut.
- Use the convex side of the spline roller first to guide, then the concave side to press it in fully.
Step 4: Trim the Excess Mesh
- Once the spline is secure, trim the extra screen mesh with a utility knife.
- Be careful not to cut too close to the spline.
Step 5: Reinstall the Screen Frame
- Place the newly screened frame back into the window.
- Check for fit and alignment.
Types of Window Screen Mesh
Choosing the right screen material can affect durability, visibility, and installation difficulty.
Fiberglass Screens
Fiberglass is the most common type of window screen mesh.
Benefits include:
- Affordable
- Flexible and easy to install
- Resistant to rust and corrosion
This is usually the best option for DIY projects.
Aluminum Screens
Aluminum mesh is stronger and more durable than fiberglass.
Benefits include:
- Better durability
- Stronger resistance to damage
- Longer lifespan
However, aluminum screens can be slightly more difficult to install because they are less flexible.
Pet-Resistant Screens
Homes with pets often benefit from pet-resistant screen mesh.
Features include:
- Heavy-duty material
- Tear resistance
- Designed to withstand scratching or pushing
These screens last longer in households with dogs or cats.
How Much Does It Cost to Replace a Window Screen?
Window screen replacement is one of the most affordable home maintenance tasks.
Typical costs include:
- DIY screen replacement: $10 – $30 per screen
- Professional replacement: $40 – $80 per screen
- Full screen frame replacement: $80 – $150
Costs can vary depending on window size, screen material, and local labor rates.
Tips for a Perfect Window Screen Replacement
Follow these tips to get the best results:
- Use fiberglass mesh if you’re installing a screen for the first time
- Work on a large flat surface for better control
- Keep the screen tight but not overly stretched
- Double-check the spline size before installation
- Trim excess mesh carefully to avoid tearing the screen
Proper installation will help your screen last longer and maintain a clean appearance.
How Often Should You Replace Window Screens?
Most window screens last 10 to 15 years, depending on exposure to sunlight, weather conditions, and daily wear.
- You should consider replacing your screens if you notice:
- Tears or holes in the mesh
- Loose or sagging screens
- Discoloration or brittleness
- Reduced airflow through the window
Regular maintenance helps keep your home comfortable and improves ventilation.
Should You Replace a Window Screen Yourself or Hire a Professional?
In many cases, homeowners can replace a window screen themselves with basic tools and materials.
However, professional help may be necessary if:
- The screen frame is bent or damaged
- The window frame is warped
- Multiple screens need replacement
- You are planning a full window replacement upgrade
Professional installation can ensure proper fit and long-term performance.
Final Thoughts
Learning how to replace a window screen is a simple but valuable DIY skill that helps protect your home while improving airflow and comfort. With the right tools and a few easy steps, most homeowners can complete this project in just minutes.
If your screens are part of a larger window issue or you’re considering a full window upgrade, Will County Siding and Windows is here to help. We proudly serve homeowners throughout Will County with professional window replacement, siding, and exterior remodeling solutions designed for long-term performance and energy savings.
Contact us today to schedule a free consultation or learn more about our trusted home improvement services.