
If you’re looking to refresh your home’s exterior with a clean, modern look, vertical siding is a great choice. Not only does it offer striking curb appeal, but it also provides superior water drainage and durability compared to traditional horizontal siding. In this guide, we’ll explain how to install vertical siding properly, ensuring your home looks beautiful and remains well-protected for years to come.
Why Choose Vertical Siding?
Vertical siding, often called board and batten siding, has become increasingly popular among homeowners in Illinois and beyond. Its sleek, linear design gives homes a contemporary edge while improving moisture control and reducing maintenance needs.
Key benefits include:
- Excellent water runoff ideal for Illinois’ wet and snowy seasons
- Durable and weather-resistant construction
- Low maintenance and easy cleaning
- Adds visual height and modern appeal to your home
Tools and Materials You’ll Need
Before you start the installation, gather the necessary materials and tools:
- Vertical siding panels (vinyl, fiber cement, or wood)
- Starter strips and J-channels
- Corner posts and trim
- Nails or screws (galvanized or rust-resistant)
- Measuring tape, chalk line, and level
- Circular saw or utility knife
- Hammer or nail gun
Step-by-Step Guide to Installing Vertical Siding
1. Prepare the Surface
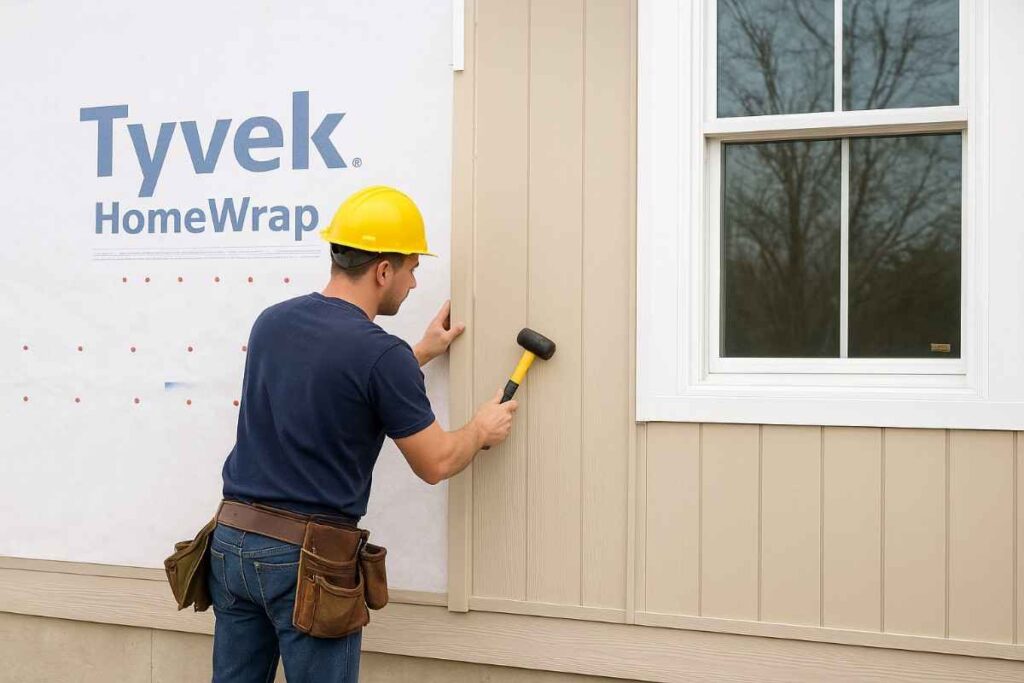
Start by removing any old siding and repairing damaged sheathing. Ensure the wall is clean, flat, and dry before installing a weather-resistant barrier (WRB) or house wrap for extra protection.
2. Install the Starter Strips
Starter strips should be placed along the base of the wall, perfectly level. These strips ensure that your vertical siding panels are installed evenly and securely from the start.
3. Attach Corner Posts and Trim
Next, install your outside and inside corner posts, followed by J-channels around windows, doors, and rooflines. This framing step helps seal the siding edges and adds a finished appearance.
4. Measure and Cut the Panels
Using a measuring tape and chalk line, mark your cutting lines carefully. Always cut panels slightly shorter than the full height to allow for expansion and contraction due to temperature changes.
5. Secure the Panels Vertically
Start at one corner and work across the wall. Place each panel into the starter strip, ensuring it locks properly. Nail or screw the panel loosely through the slots tight nailing can prevent natural movement and lead to buckling.
6. Finish with Trim and Battens
Once the panels are in place, add battens (narrow strips) over each seam to create the traditional board-and-batten effect. Finally, attach top trim pieces for a seamless, polished look.
Pro Tips for a Professional Finish
- Use a level frequently to keep panels straight throughout the process.
- Leave expansion gaps around windows and doors to prevent warping.
- Seal all seams and joints with high-quality caulk for better insulation and protection.
- Consider professional siding installation services if you’re not comfortable with precise measurements and cutting. Improper installation can lead to costly damage later.
Maintain Your Vertical Siding for Longevity
Once installed, vertical siding requires minimal maintenance. Simply wash it with mild soap and water once or twice a year, inspect seams annually, and replace any damaged panels promptly.
With proper care, your siding can last 30–50 years or more, depending on the material.
Looking to Upgrade Your Home’s Exterior?
At Will County Siding and Windows, we specialize in expert vinyl and vertical siding installation across Illinois. Our professional team ensures a perfect fit, weatherproof performance, and lasting beauty for your home.
👉 Contact us today to schedule a free siding consultation and discover the best exterior solution for your home.